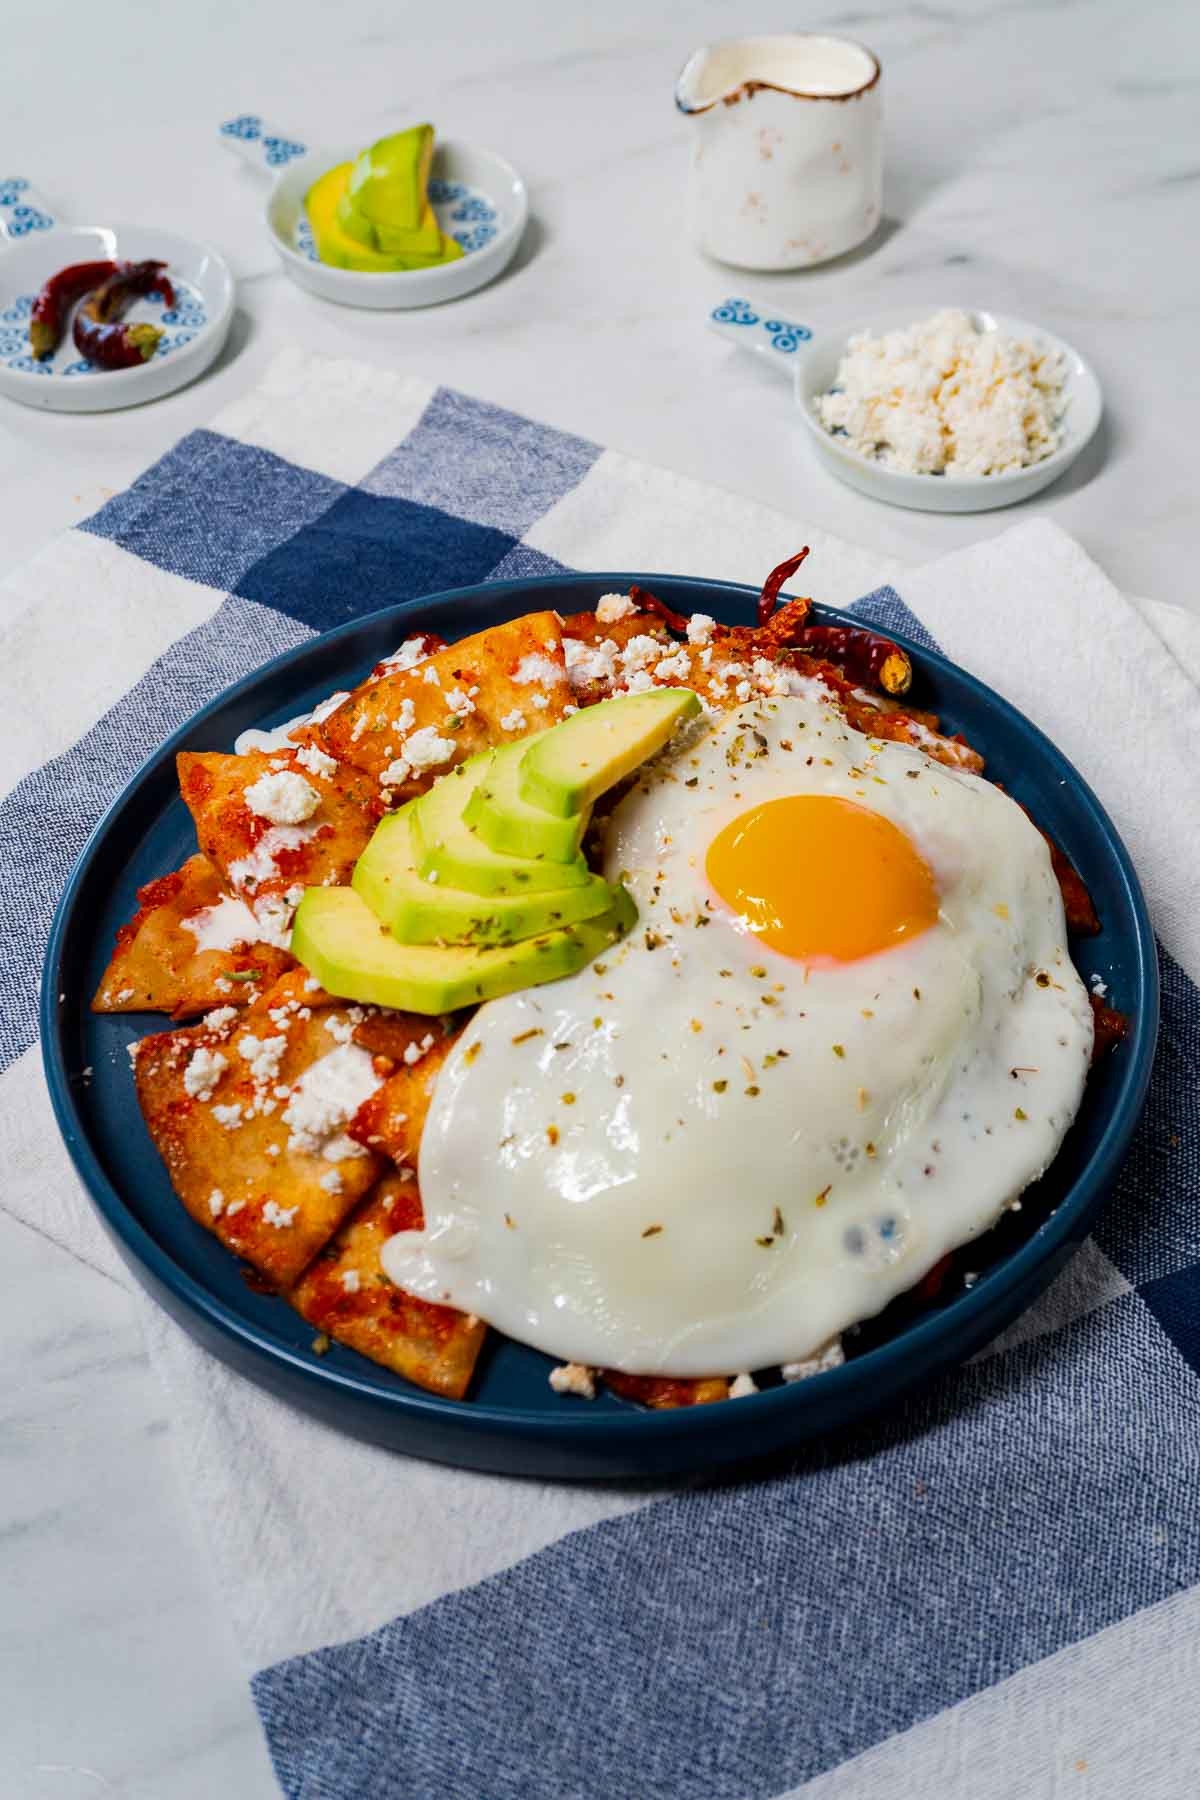
Chilaquiles Rojos, a cornerstone of Mexican breakfast cuisine, is a dish that explodes with flavor and texture. Imagine crispy tortilla chips bathed in a vibrant red salsa, topped with fresh cheese, creamy Mexican crema, and your favorite breakfast additions. This isn’t just breakfast; it’s a Mexican culinary experience that’s surprisingly easy to bring to your own kitchen. I first encountered this delightful dish during a trip to Mexico, on the recommendation of a local cook who insisted it was the perfect “first Mexican breakfast.” Since then, it’s become a beloved part of my brunch repertoire, and I’m excited to share this authentic recipe with you.
 Mexican breakfast chilaquiles on a plate.
Unpacking Chilaquiles Rojos: A Mexican Breakfast Staple
Chilaquiles Rojos, at its heart, is a simple yet deeply satisfying Mexican breakfast recipe. The foundation is crispy tortilla chips, often homemade for the best texture, smothered in a flavorful salsa. When we talk about chilaquiles, we’re generally referring to this style – crispy tortillas and salsa, elevated with garnishes. The magic truly lies in the salsa, and for Chilaquiles Rojos, it’s all about the “salsa roja,” the red salsa. This distinguishes it from its equally popular cousin, Chilaquiles Verdes, which uses a vibrant green salsa.
While the basic recipe is consistent, Mexican cuisine is wonderfully regional. You’ll find subtle variations in Chilaquiles Rojos across different areas of Mexico, reflecting local ingredients and preferences. Some variations might include different types of chiles in the salsa, or unique toppings beyond the standard cheese and crema.
Chilaquiles Rojos vs. Migas: Spotting the Difference
It’s easy to understand why Chilaquiles are sometimes confused with Migas, another popular Mexican breakfast dish. Both feature crispy tortillas and are undeniably delicious. The key differentiator is the egg. Migas typically incorporate scrambled eggs directly into the tortilla and salsa mixture. Chilaquiles, on the other hand, traditionally do not include eggs within the base dish itself, though they are frequently served alongside a fried egg on top, as we do in this recipe. This subtle difference in preparation sets these two beloved Mexican Breakfast Recipes apart.
Gathering Your Ingredients for Authentic Chilaquiles Rojos
To embark on your Chilaquiles Rojos journey, you’ll need a few key ingredients. Fresh, quality components are essential for capturing the authentic flavors of this Mexican breakfast.
For the Crispy Tortillas:
- Corn tortillas: While corn tortillas are traditional, flour tortillas can also be used, especially if they are more readily available. I’ve even used flour tortillas in a pinch and the result was still fantastic!
- Canola oil: For frying the tortillas to golden crisp perfection.
For the Rich Red Salsa (Salsa Roja):
- Roma tomatoes: The base of our vibrant red salsa. Chopped and ready to simmer.
- Onion: White or yellow onion, finely chopped, to add depth and aromatic complexity to the salsa.
- Water: To help create the sauce and cook the vegetables.
- Guajillo chiles: These dried chiles are key to the authentic flavor of salsa roja, providing a mild heat and fruity notes. Be sure to remove the seeds for a less spicy salsa.
- Chiles de árbol: For a touch more heat. If you prefer a milder salsa, you can reduce the amount or omit them entirely.
- Garlic cloves: Essential for savory flavor in the salsa.
- Kosher salt: To enhance all the flavors. Sea salt works equally well.
- Dried oregano: A classic Mexican herb that adds a distinctive aroma and flavor to the salsa.
- Black pepper: For a touch of spice and balance.
For Toppings (Customize to Your Liking!):
- Fried egg: A runny yolk is the perfect complement to the crispy chips and salsa.
- Mexican Crema: Adds a cool, tangy creaminess that balances the heat and richness of the dish.
- Queso fresco: A crumbly, fresh Mexican cheese that provides a salty and milky counterpoint.
- Avocado: Sliced or diced, avocado adds a creamy texture and healthy richness.
Step-by-Step Guide: Crafting Your Homemade Chilaquiles Rojos
Now, let’s get cooking! Follow these simple steps to create your own delicious batch of Chilaquiles Rojos.
Step 1: Prepare Perfectly Crispy Tortillas
- Heat the oil: Pour canola oil into a skillet or frying pan, about ½ inch deep. Heat over medium-high to high heat. The oil is ready when a small piece of tortilla sizzles immediately upon contact.
- Fry the tortillas: Working in batches, fry the tortillas until golden brown and crispy, about 1-2 minutes per side. Be careful not to overcrowd the pan, as this will lower the oil temperature and result in soggy tortillas.
- Drain excess oil: Remove the fried tortillas and place them on a plate lined with paper towels to drain excess oil. Set aside while you prepare the salsa.
Step 2: Make the Authentic Red Salsa (Salsa Roja)
- Simmer the vegetables and chiles: In a saucepan, combine the water, guajillo chiles, chiles de árbol (if using), chopped Roma tomatoes, finely chopped onion, and garlic cloves.
- Bring to a boil, then simmer: Bring the mixture to a gentle boil over medium-high heat. Once boiling, reduce the heat to medium-low and simmer until the tomatoes are softened, about 7-8 minutes. This softens the vegetables and infuses the water with chile flavor.
- Blend the salsa: Carefully transfer the cooked tomato mixture to a blender. Add one cup of the cooking water (reserve the rest of the water – you might need it to adjust the salsa’s thickness later). Add the kosher salt, dried oregano, and black pepper.
- Blend until smooth: Blend until completely smooth, about 1-2 minutes, creating a vibrant red sauce.
- Simmer the salsa to thicken: Heat a bit of oil in the same saucepan over medium heat. Pour in the blended tomato and chile mixture. Reduce the heat to low and simmer gently, stirring occasionally, for about 5 minutes, or until the salsa has thickened slightly. Simmering deepens the flavors and creates a richer sauce.
Step 3: Assemble and Serve Your Chilaquiles Rojos Immediately
- Combine chips and salsa: Once the red salsa has thickened to your liking, and while it’s still simmering on low heat, add the crispy tortilla chips to the saucepan.
- Coat the chips: Gently stir to coat the tortilla chips evenly with the warm red salsa. Continue mixing until the chips are well-covered but still retain some crispness. Work quickly to prevent sogginess.
- Serve immediately: Remove from heat and serve your Chilaquiles Rojos right away to enjoy the perfect balance of crispy chips and flavorful salsa.
- Add your favorite toppings: Garnish generously with your choice of toppings, such as a fried egg, Mexican crema, queso fresco, and avocado slices.
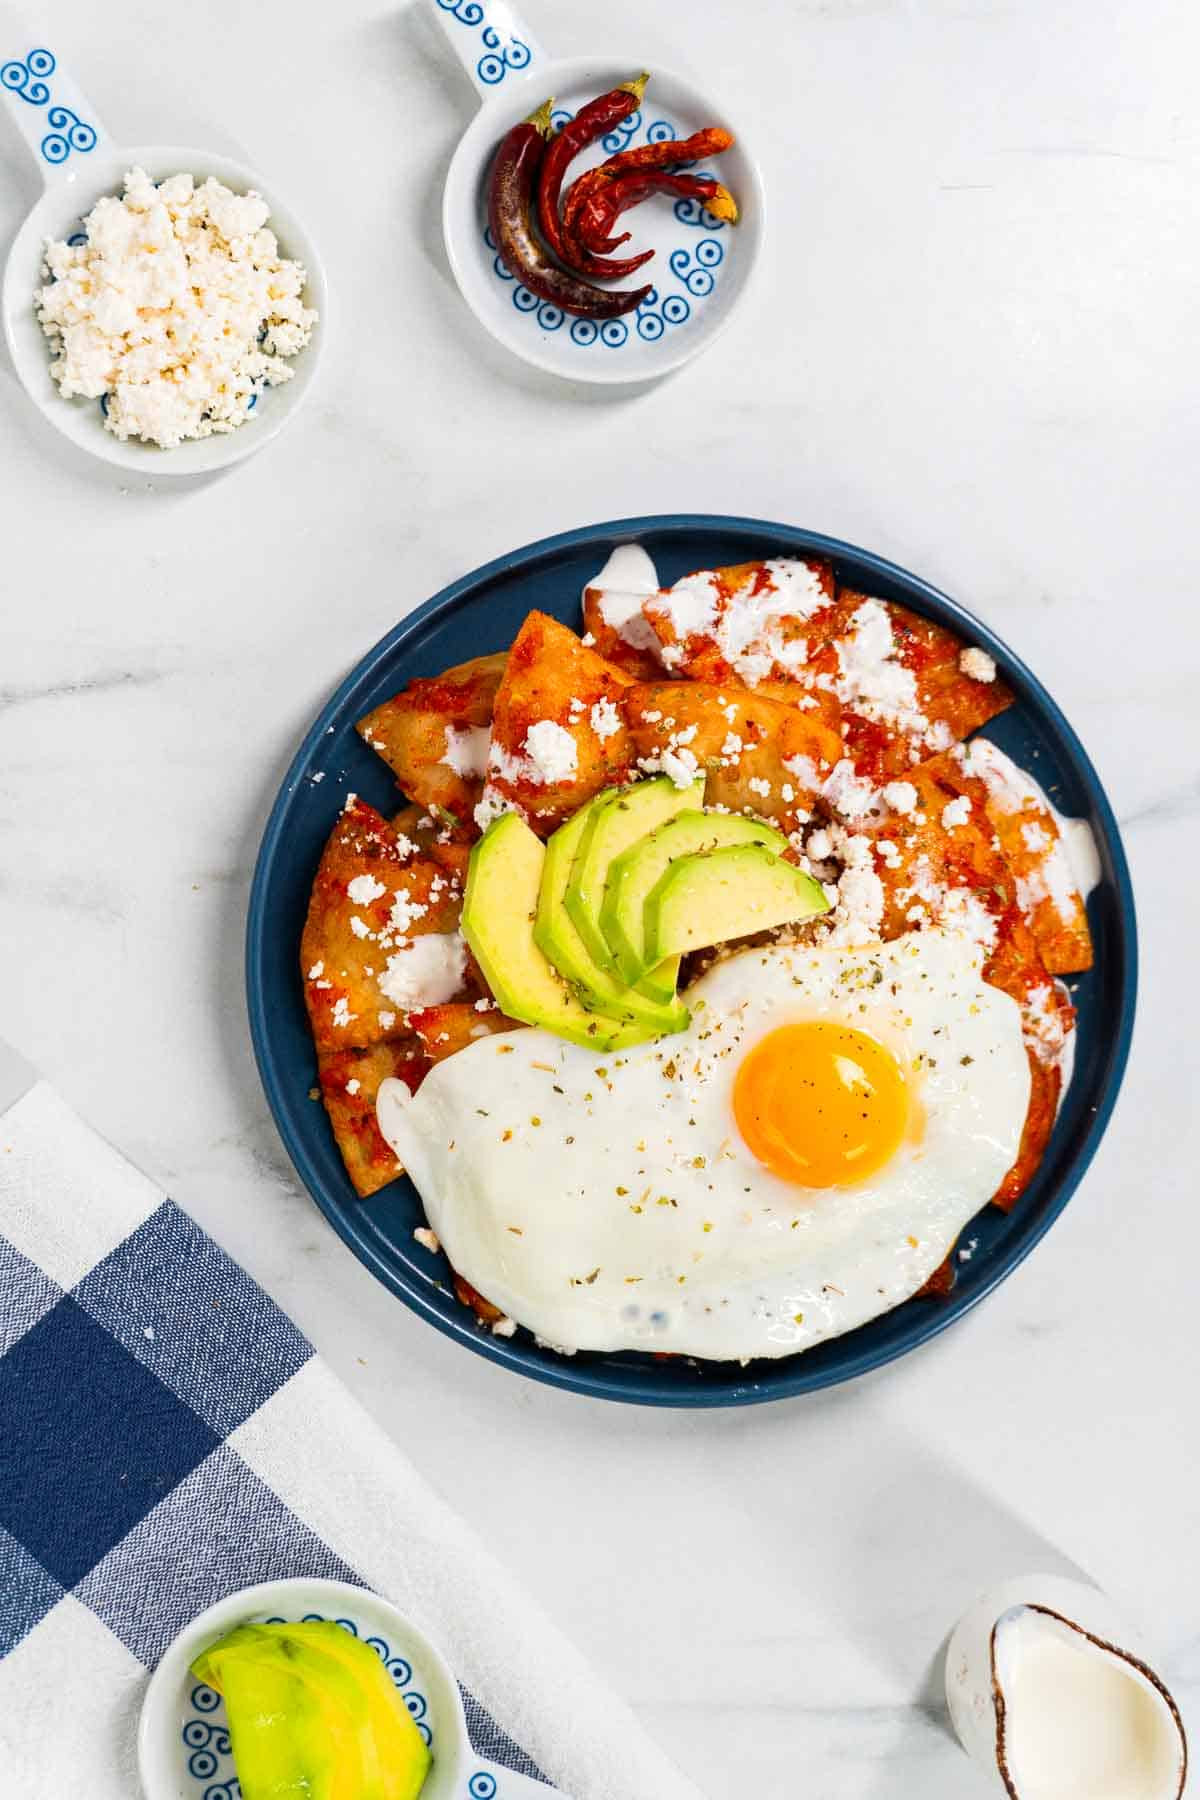
 A plate of red chilaquiles, served with avocado, fried egg, Mexican crema, and queso fresco.
Expert Tips for Perfect Mexican Breakfast Chilaquiles Rojos
- Spice it up (or down): Chilaquiles Rojos aren’t typically fiery, but you can easily adjust the heat. For more spice, add extra chiles de árbol. For a milder version, remove the seeds from the guajillo chiles thoroughly or omit the chiles de árbol entirely. A dollop of sour cream on top can also cool down any extra heat.
- Homemade vs. Store-bought chips: Homemade tortilla chips are undeniably superior in taste and texture. However, if you’re short on time, good quality store-bought tortilla chips will work. The key is to serve immediately after combining with the salsa to prevent sogginess. Slightly stale tortillas actually fry up crispier! You can also fry or bake your tortillas ahead of time.
- Salsa shortcuts: While homemade salsa is highly recommended for the best flavor, you can use a high-quality store-bought salsa roja to save time. Red enchilada sauce is another quicker alternative, though it will alter the flavor profile slightly.
- Salsa consistency is key: Avoid over-thickening the salsa. A slightly thinner salsa is better as it coats the chips without making them soggy and allows the chips to absorb some moisture for a perfect bite. If your salsa becomes too thick, thin it out with a little of the reserved cooking water.
What to Serve Alongside Your Chilaquiles Rojos
Chilaquiles Rojos is a complete and satisfying breakfast on its own, but you can elevate your Mexican breakfast experience with a few delicious sides:
- Beans: Refried beans or black beans are classic accompaniments, adding protein and heartiness.
- Protein: Roasted chicken or shredded chicken can be added for a more substantial meal, especially if serving for brunch or lunch.
- Cheese variations: While queso fresco is traditional, cotija cheese, a harder, saltier cheese, is another excellent option.
- Vegetables: Sautéed vegetables like onions, peppers, or zucchini can be incorporated into the chilaquiles or served on the side.
- Fresh herbs: Garnish with fresh cilantro or a sprinkle of ground cumin for added flavor and freshness.
Storage Tips for Leftovers (Though They’re Best Fresh!)
Honestly, Chilaquiles Rojos are best enjoyed immediately. Once the chips are combined with the salsa, they will soften over time. However, you can prepare the components ahead of time:
- Tortilla chips: Store fried tortilla chips in an airtight container at room temperature for up to 3 days.
- Salsa roja: Refrigerate the salsa in an airtight container for up to 3 days.
When ready to serve, simply reheat the salsa and quickly combine it with the chips.
Essential Tools for Making Chilaquiles Rojos
You don’t need any fancy equipment for this recipe! However, a good blender is very helpful for achieving a smooth salsa. A blender will make quick work of the salsa preparation.
Ready to try this incredible Mexican breakfast recipe? Chilaquiles Rojos is a dish that’s sure to impress. Let me know in the comments below how yours turn out and what toppings you love to use! Don’t forget to share this recipe with anyone looking for delicious and authentic Mexican breakfast ideas.
